Site offline page editing
One of my sites uses Content Builder to customises a form so that people who are not too computer savvy can enter details of a voluntary position and because this sort of site can be vulnerable to attack by unscrupulous people, moderator approval is required before the position is posted publically.
Because of this, any time changes are made to the form in the admin 'back-end' any and all articles are unpublished which results in no positions been shown. So, I decided that I would take the site off line for 15 minutes to make any changes and then restore the unpublished items.
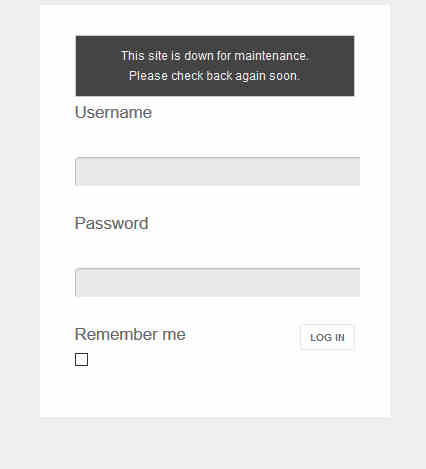
The default site offline page is pretty basic though you can add an image to the log in box, but if you don't want a log in box in the first place, then the default is not really what you want to appear whilst you are working on the site updates.
How to change the default Site Offline page.
First of all, you need to copy the system template offline.php file to the template directory that your site uses. This is found in <site>/templates/system/ and should be copied to your template:- <site>/templates/<your template>/offline.php
The best way to see what this looks like is to run a test Joomla site in a different directory from your live/public site(s) and play around with this. To turn this site offline, go to the admin pages and visit System>Global Configuration and under Site Settings you can put your site offline. Once you have selected Yes, you can also customise the offline message and add an image to be displayed. Once you have the page designed as you wish, then copy the resulting code to your live site's template directory as offline.php
Remove the Login Box.
Go to your template and select offline.php as the file to edit. Find the lines towards the end of the file which start <form and add <!-- to the start of that line, and after the matching </form> add --> or simply remove all the lines between <form> and </form> completely.
Add some css to the file to hopefully improve the layout of the offline page, I quite like the following code added to the <head> section but as always, this is to your personal taste.
<style>
  div{
  background-color:blue;
  color:#EFD0CA;
  font-size:20px;
  text-align:center;
  padding: 20px;
}
/style>
Adding a time.
I also wanted to give a little information on how long a visitor would be likely to wait for the site to return, though I would be working on the site at hopefully a quiet time for visitors, so I wanted to add a "we should be back by <time>" message.
The following is really easy way to add days, minutes, hours and seconds to a time using PHP. Using the date function to set the format of the date to be returned then using strtotime to add the increase or decrease of time then after a comma use another strtotime to pass the start date and time.
//code found on https://daveismyname.blog/quick-way-to-add-hours-and-minutes-with-php
//set timezone
date_default_timezone_set('Europe/London');
//set an date and time to work with
$start = date('Y-m-d H:i');
//display the converted time
echo date('Y-m-d H:i',strtotime('+1 hour +20 minutes',strtotime($start)));
Times can thus be entered in a readable way:
+1 day = adds 1 day
+1 hour = adds 1 hour
+10 minutes = adds 10 minutes
+10 seconds = adds 10 seconds
To subtract time it is the same except a - (minus) is used instead of a + (plus) and as shown above, you may combine different durations. Adding the default timezone saves you having to work out BST/GMT for the UK and by using your own timezone, this can be customised to your location.
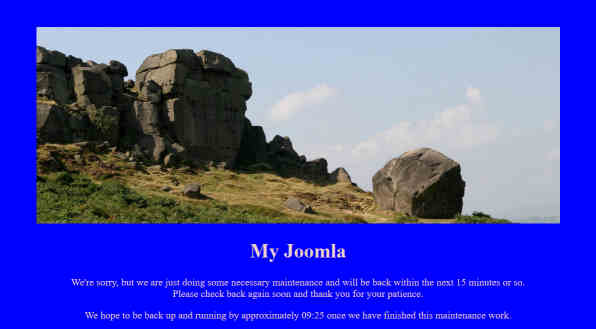
The result is shown below. I hope that this of use to you.
